¶ Overview
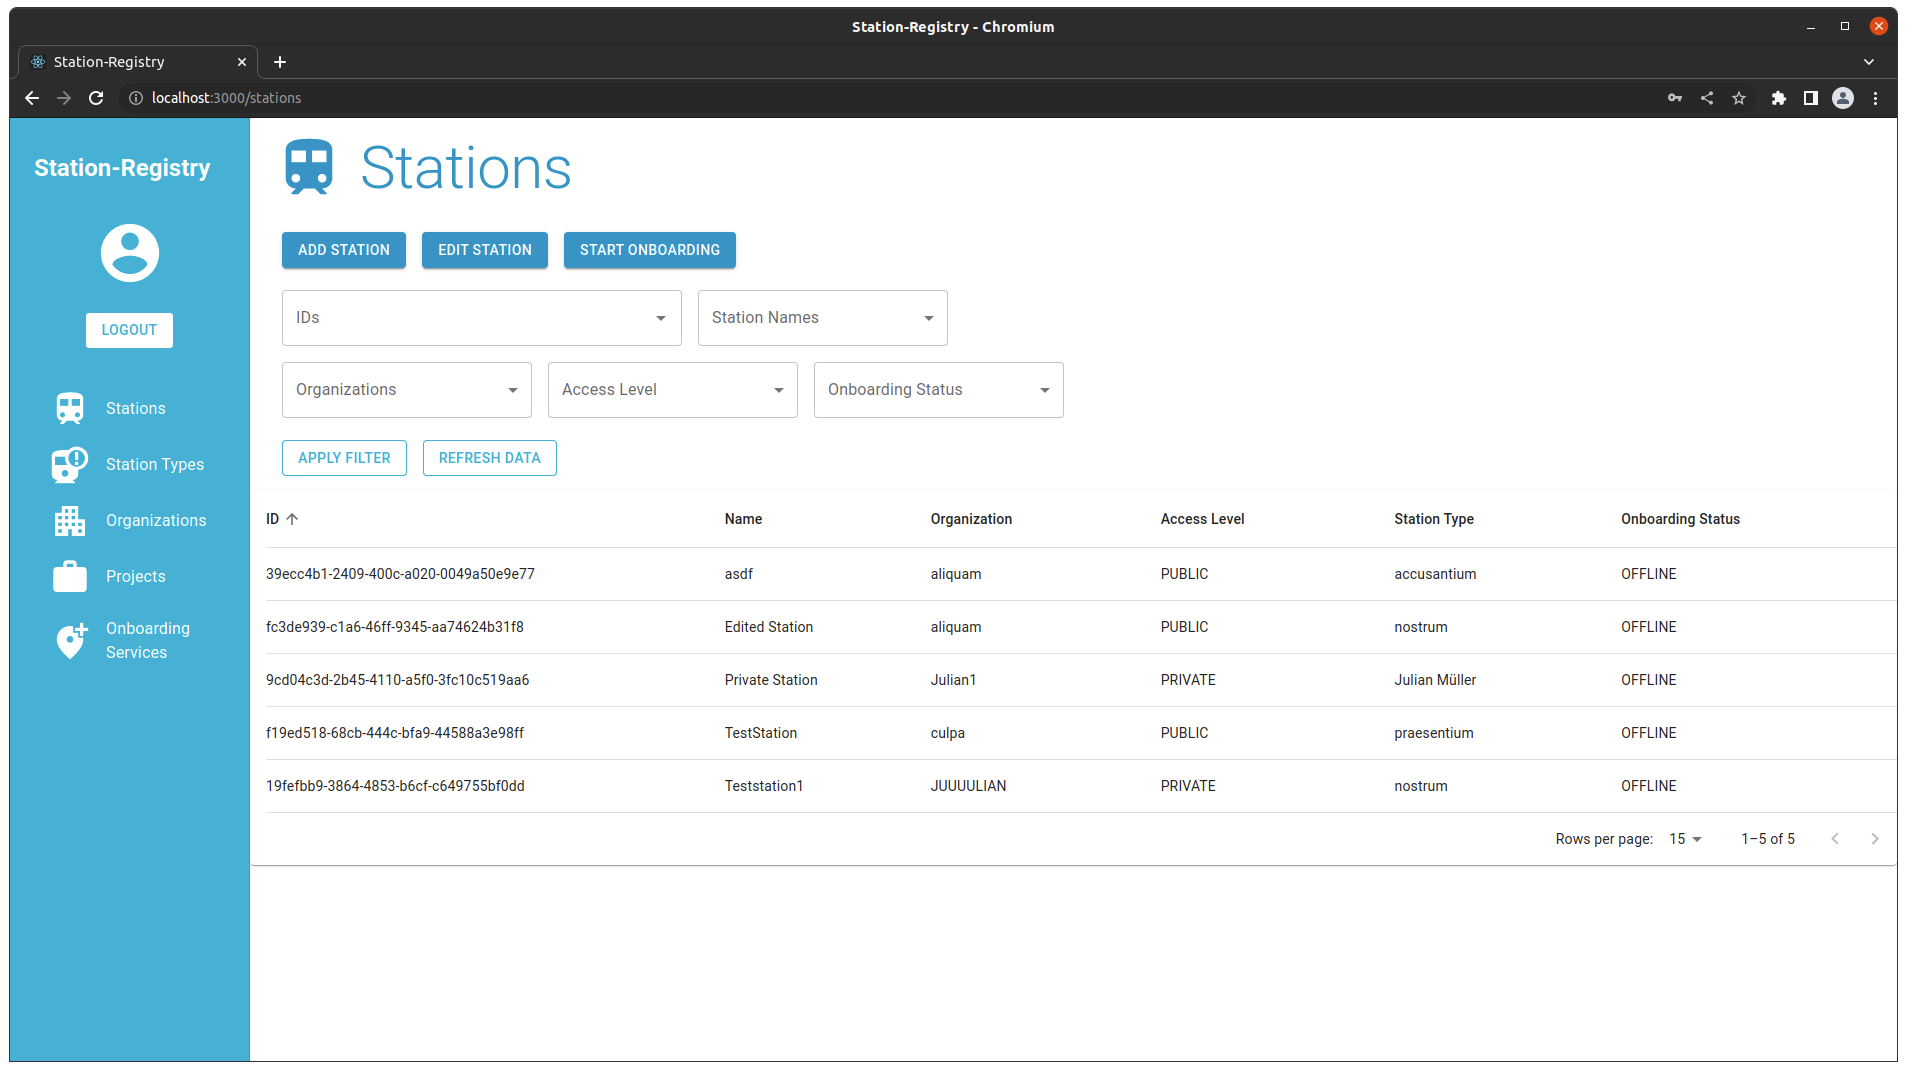
The station registry is used to register and onboard stations. In the menu you get an overview of the different available services.
Each component page consists of filters and tables. To apply filters you have to change the corresponding input fields and press the “Apply Filter” butotn.
The refresh button fetches new data from the api.
¶ Login
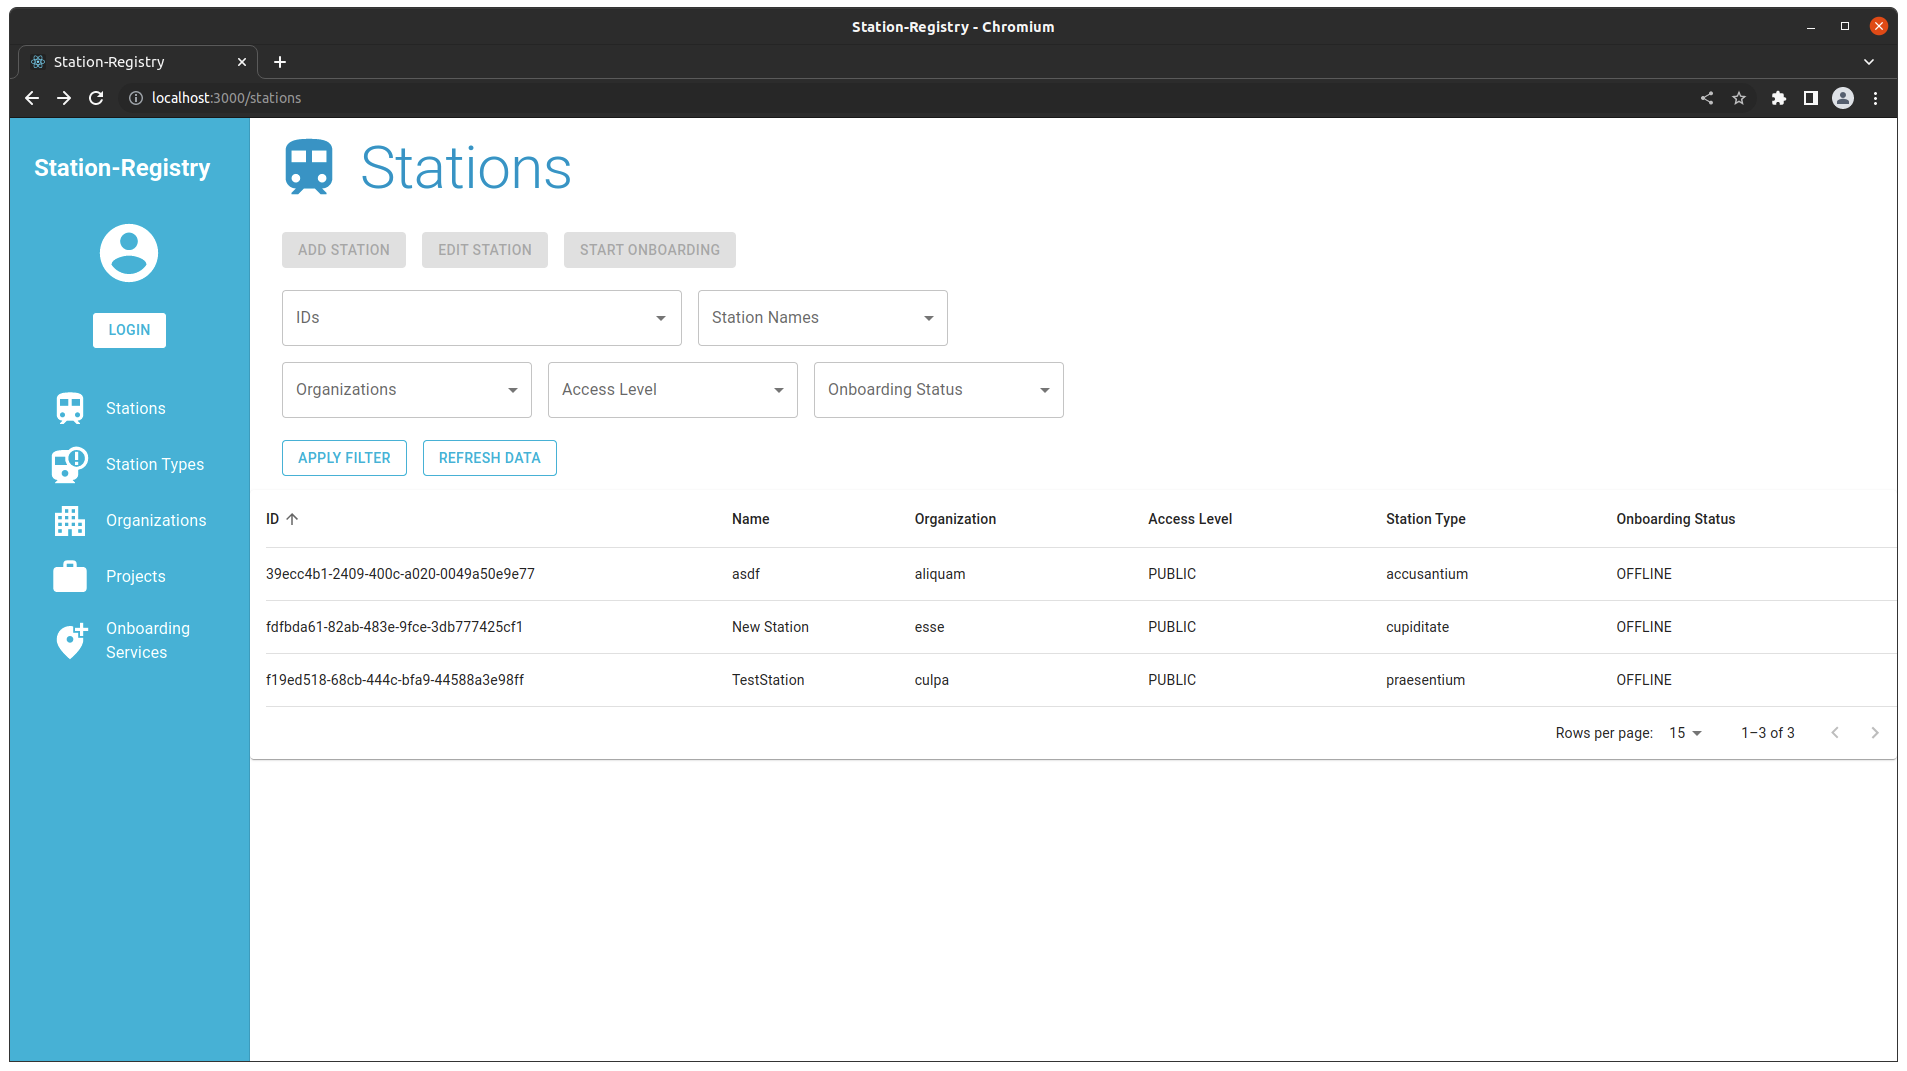
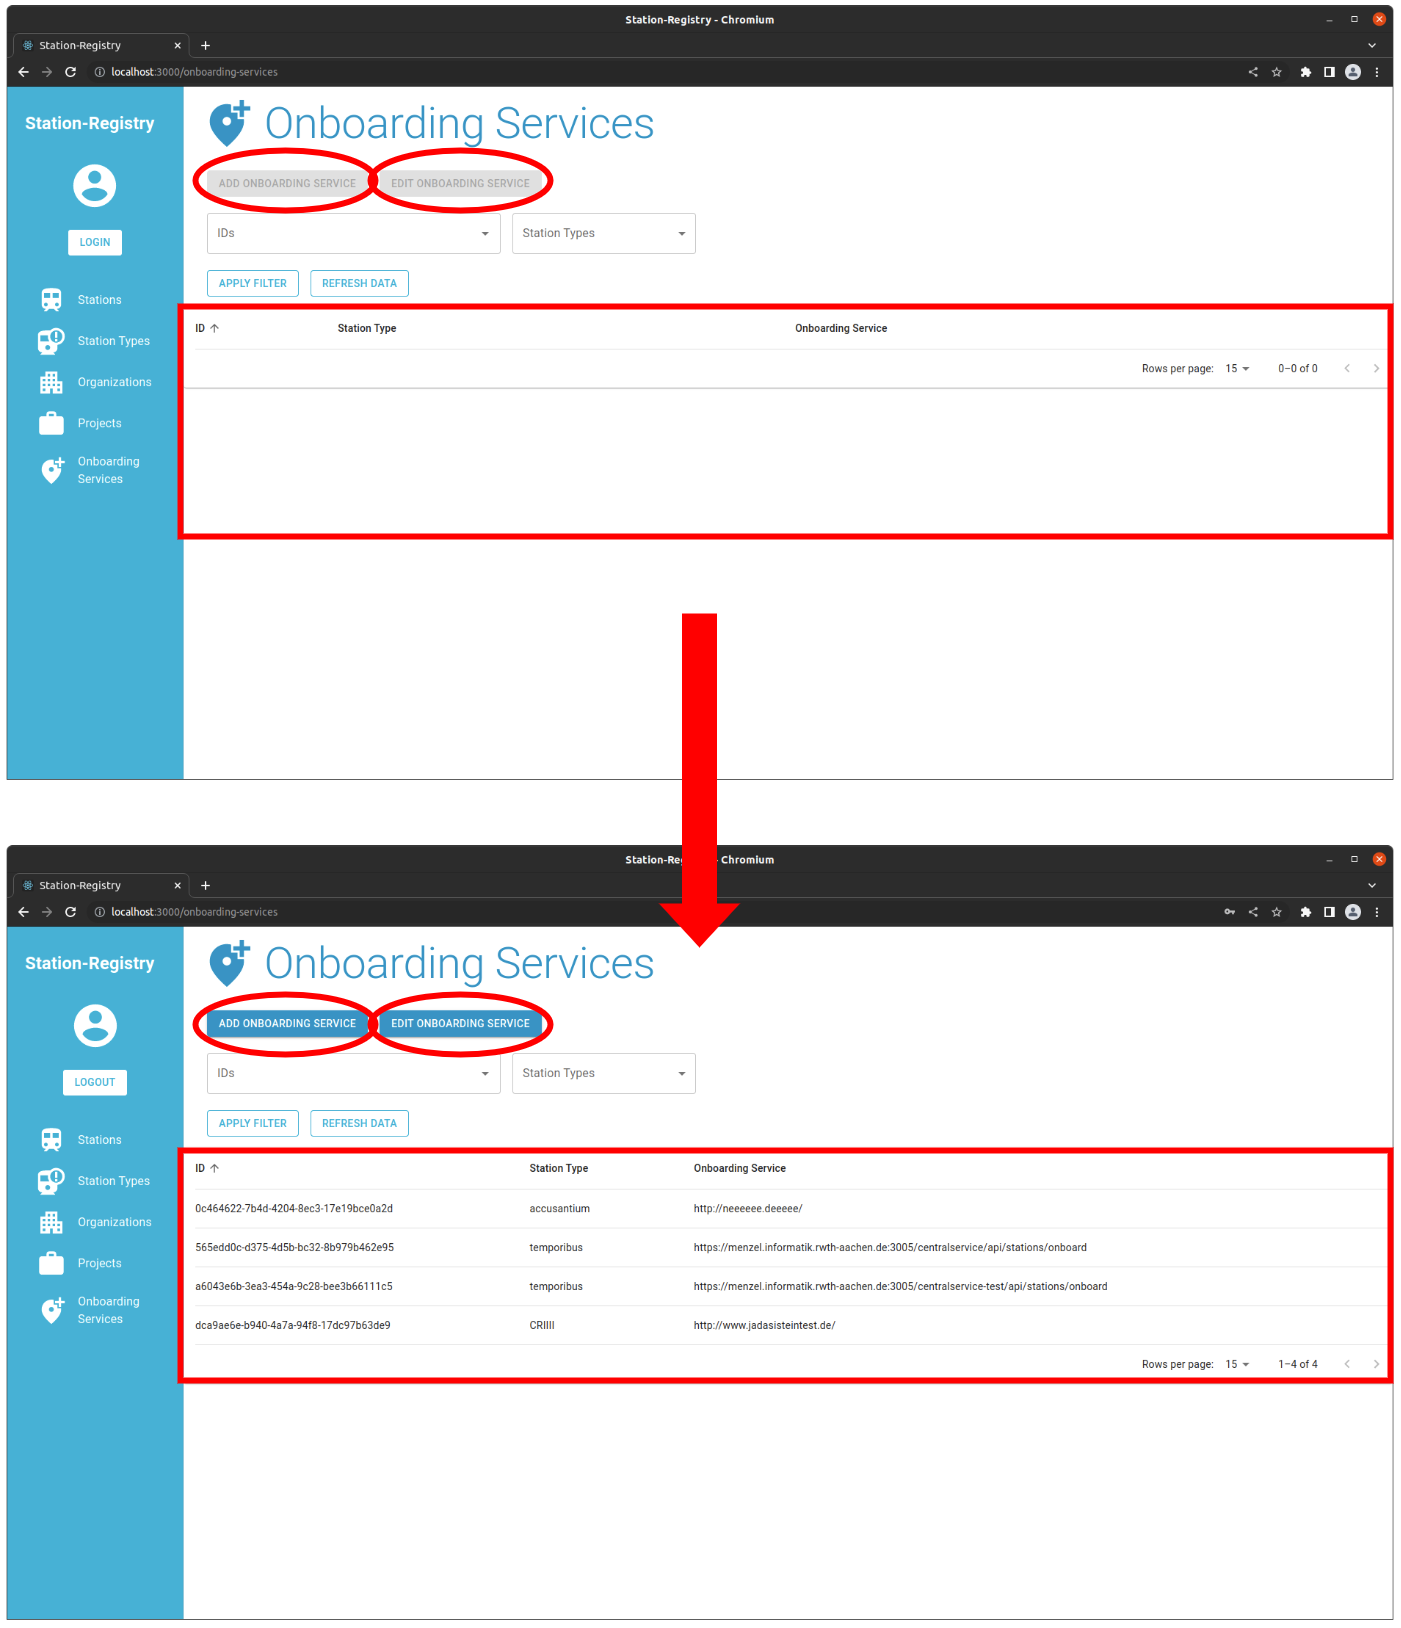
Login is done via Keycloak. To login just press the “Login”-Button and enter your credentials.

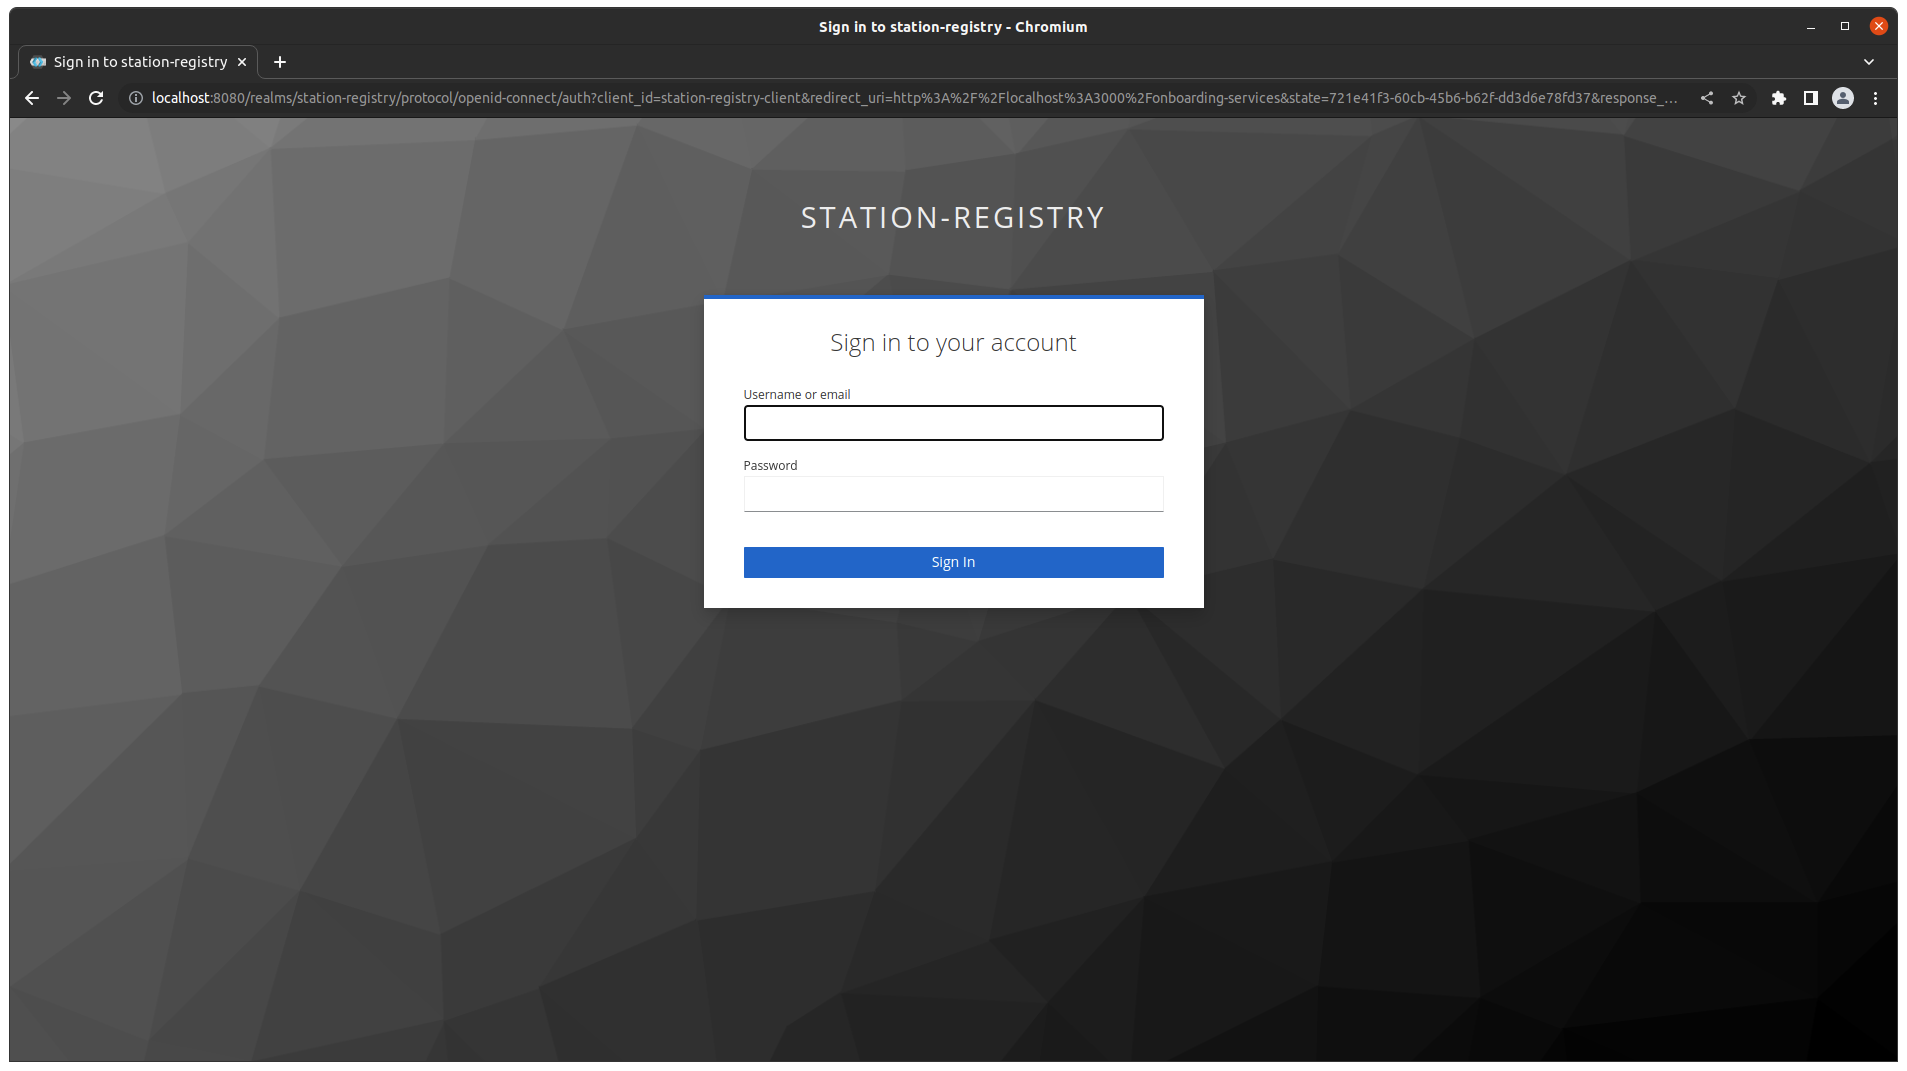
After logging in, a lot of services will be available. For instance, the Onboarding Service Page will receive its data and the alter-buttons (add and edit) will be enabled.
¶ Add a Station
A station has at the moment a unique name. As soon the station has been onboarded, the corresponding public/private keys and the .env file are created. Even after successful deletion of a station through the station registry website, an onboarding of a new station is not possible with the same name, as the credentials etc. in keycloak are not deleted for that station.
To add a station just press the “Add Station” button. Afterwards a dialog window will open.
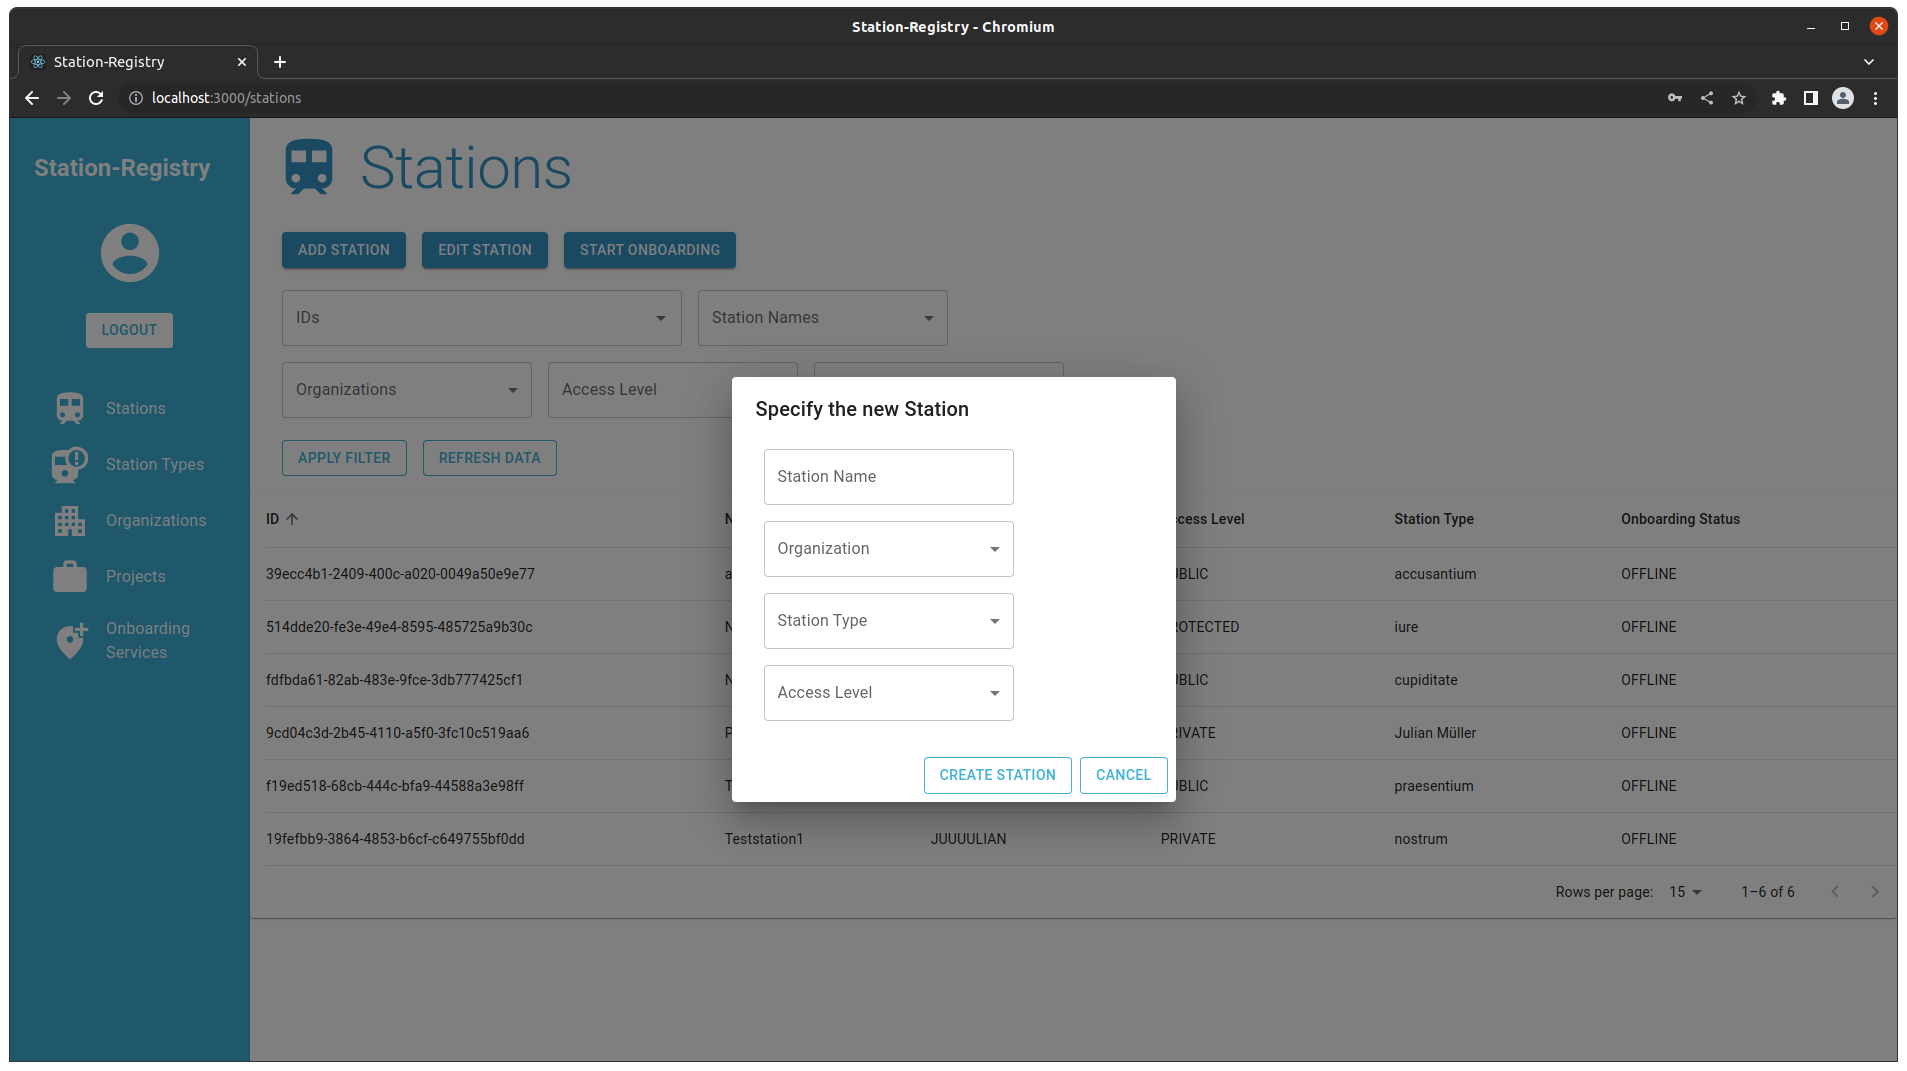
If you have filled in the station data correctly, a new dialog will open up and show you the station you want to add.
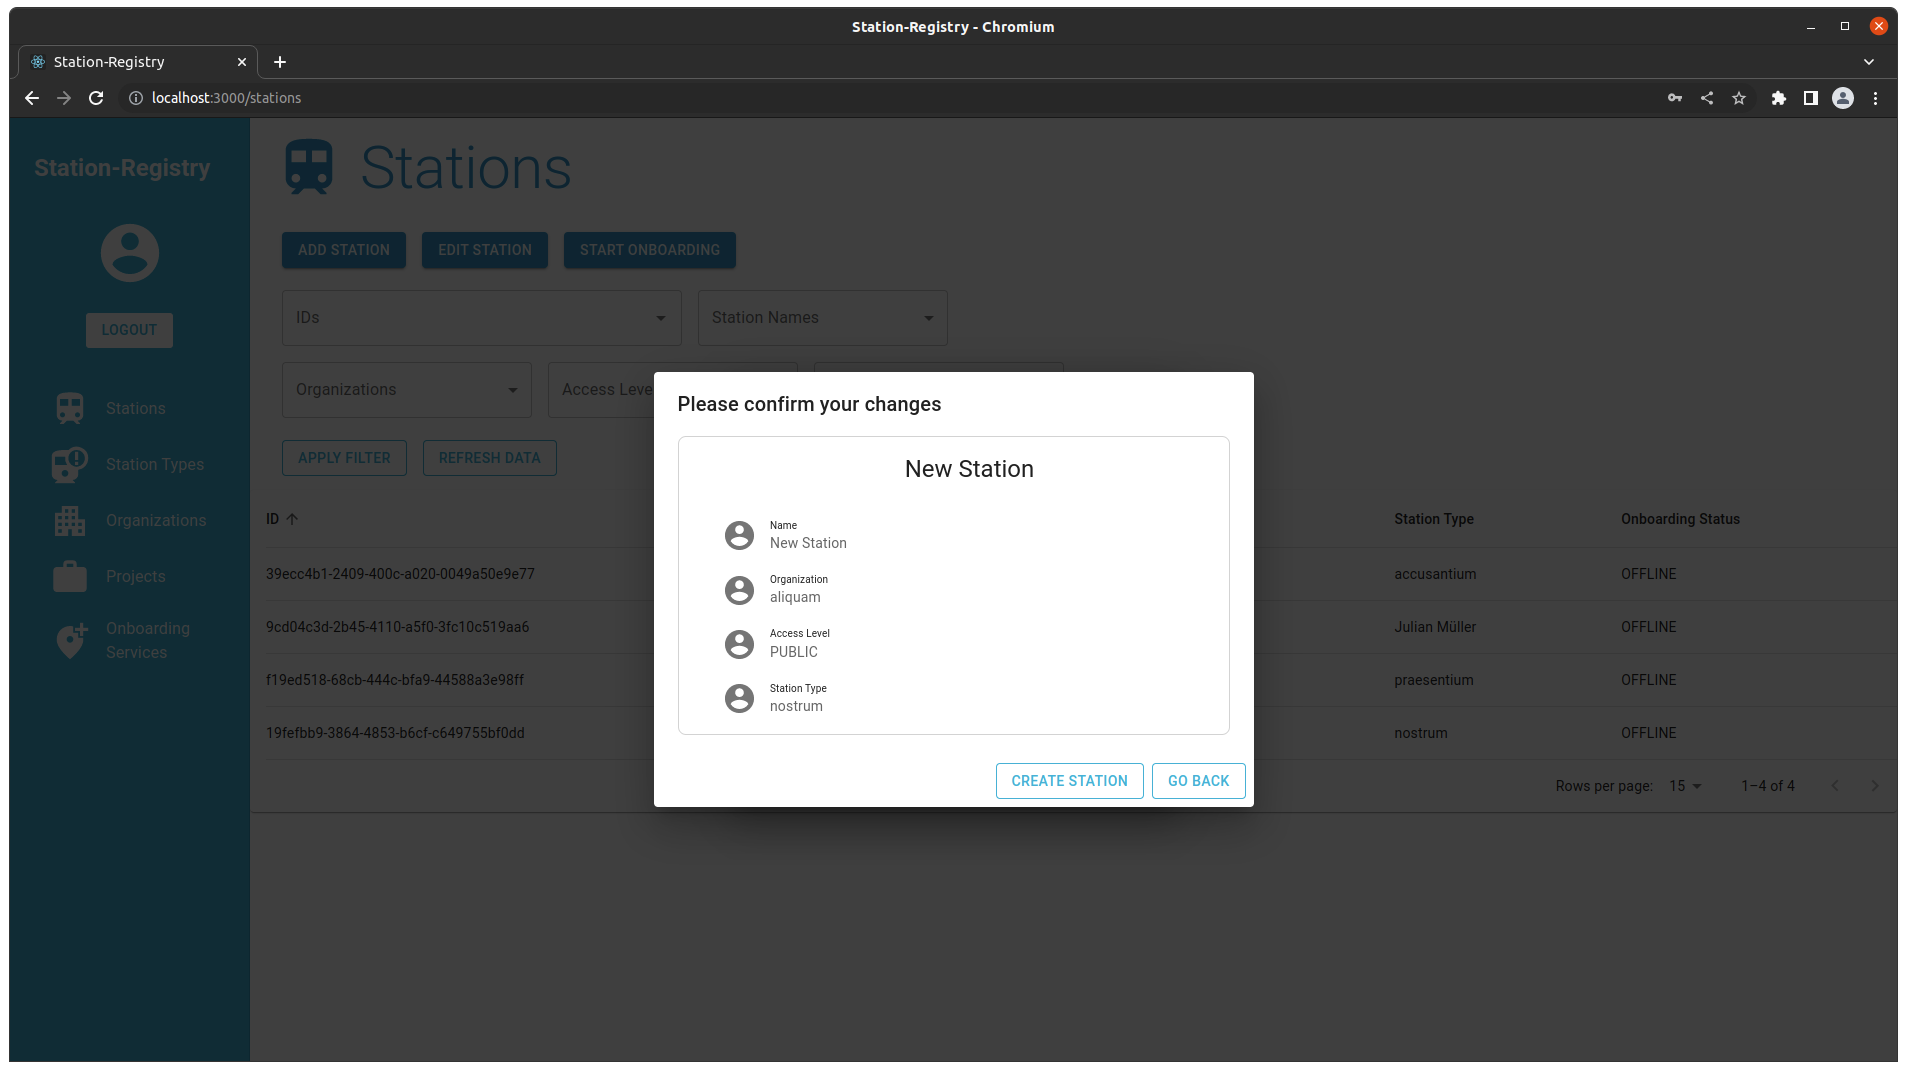
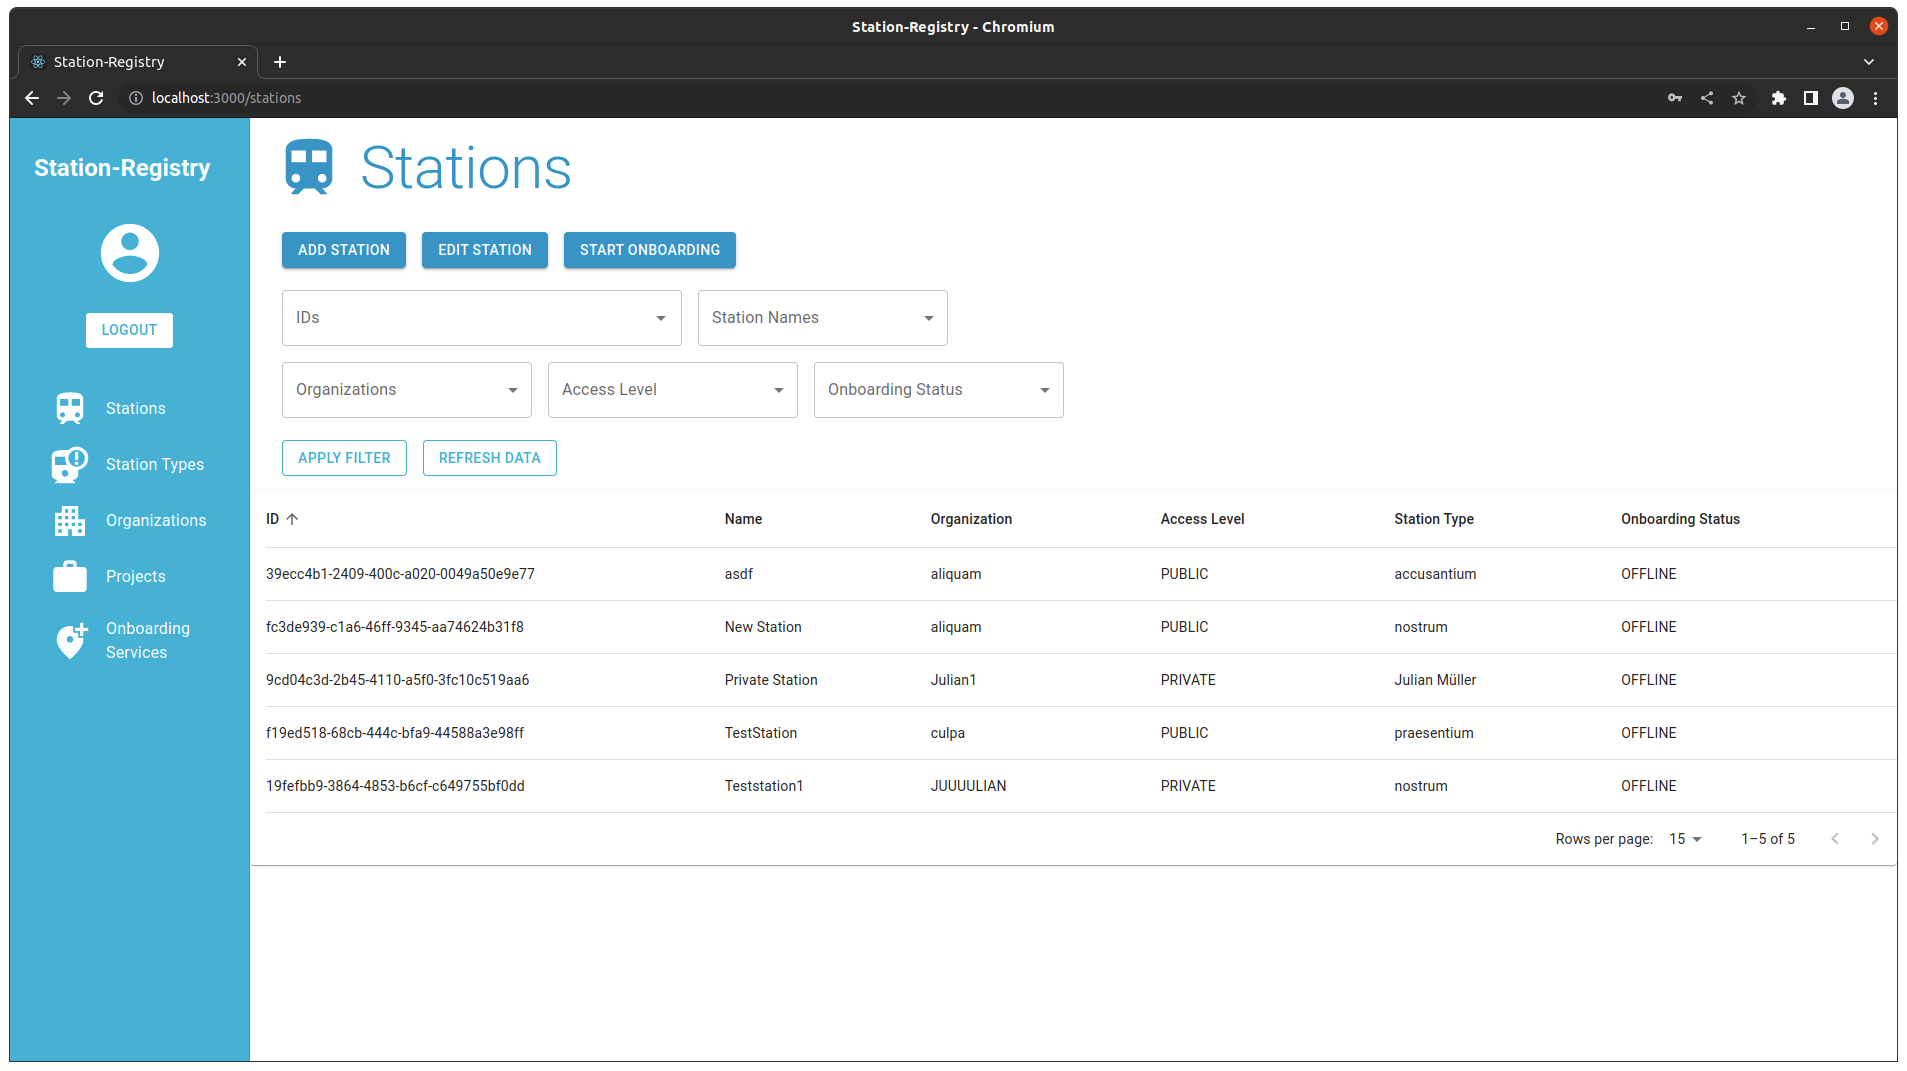
To accept the new station just press “Create Station”.
¶ Edit a Service
To edit a station just press the “Edit Station” button. Afterwards a dialog window will open.
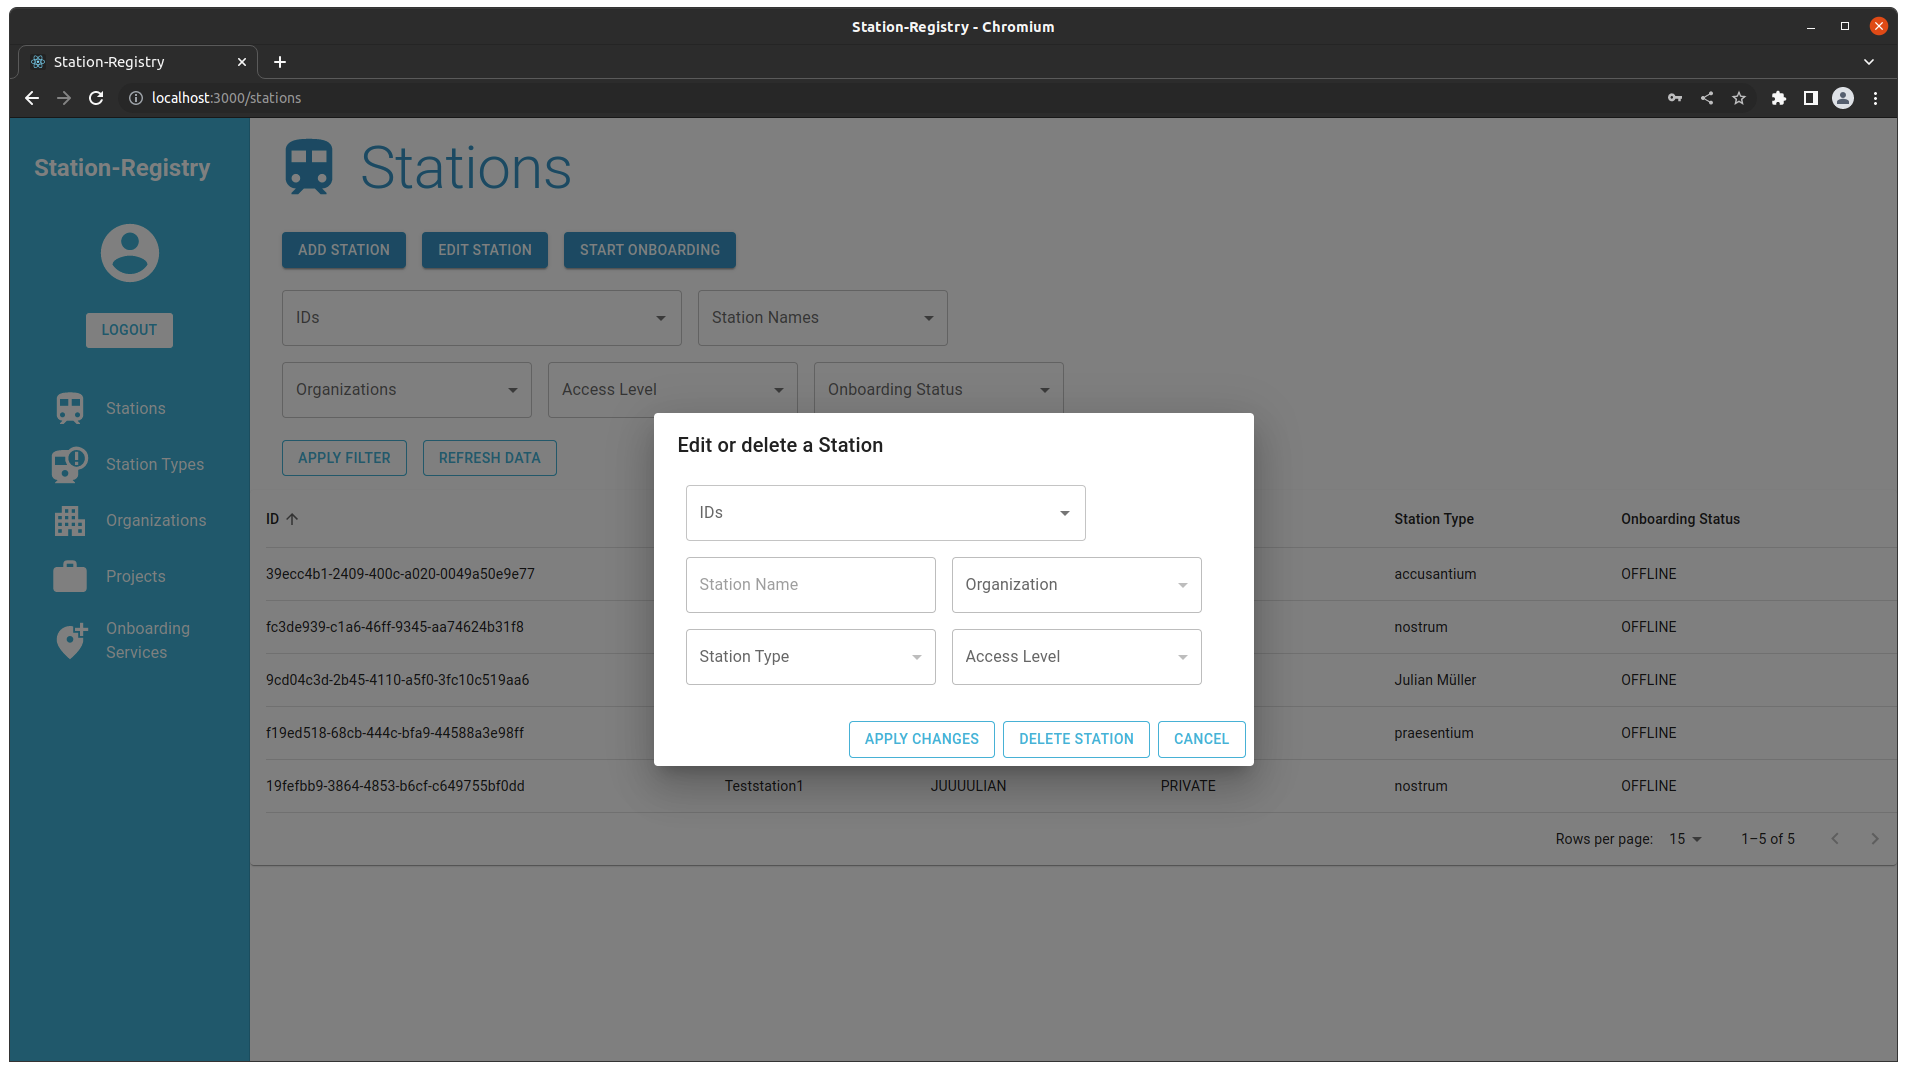
To edit a statoin you first have to select its id in the corresponding id-field. Afterwards you have two options:
- Edit the station
- Delete the station
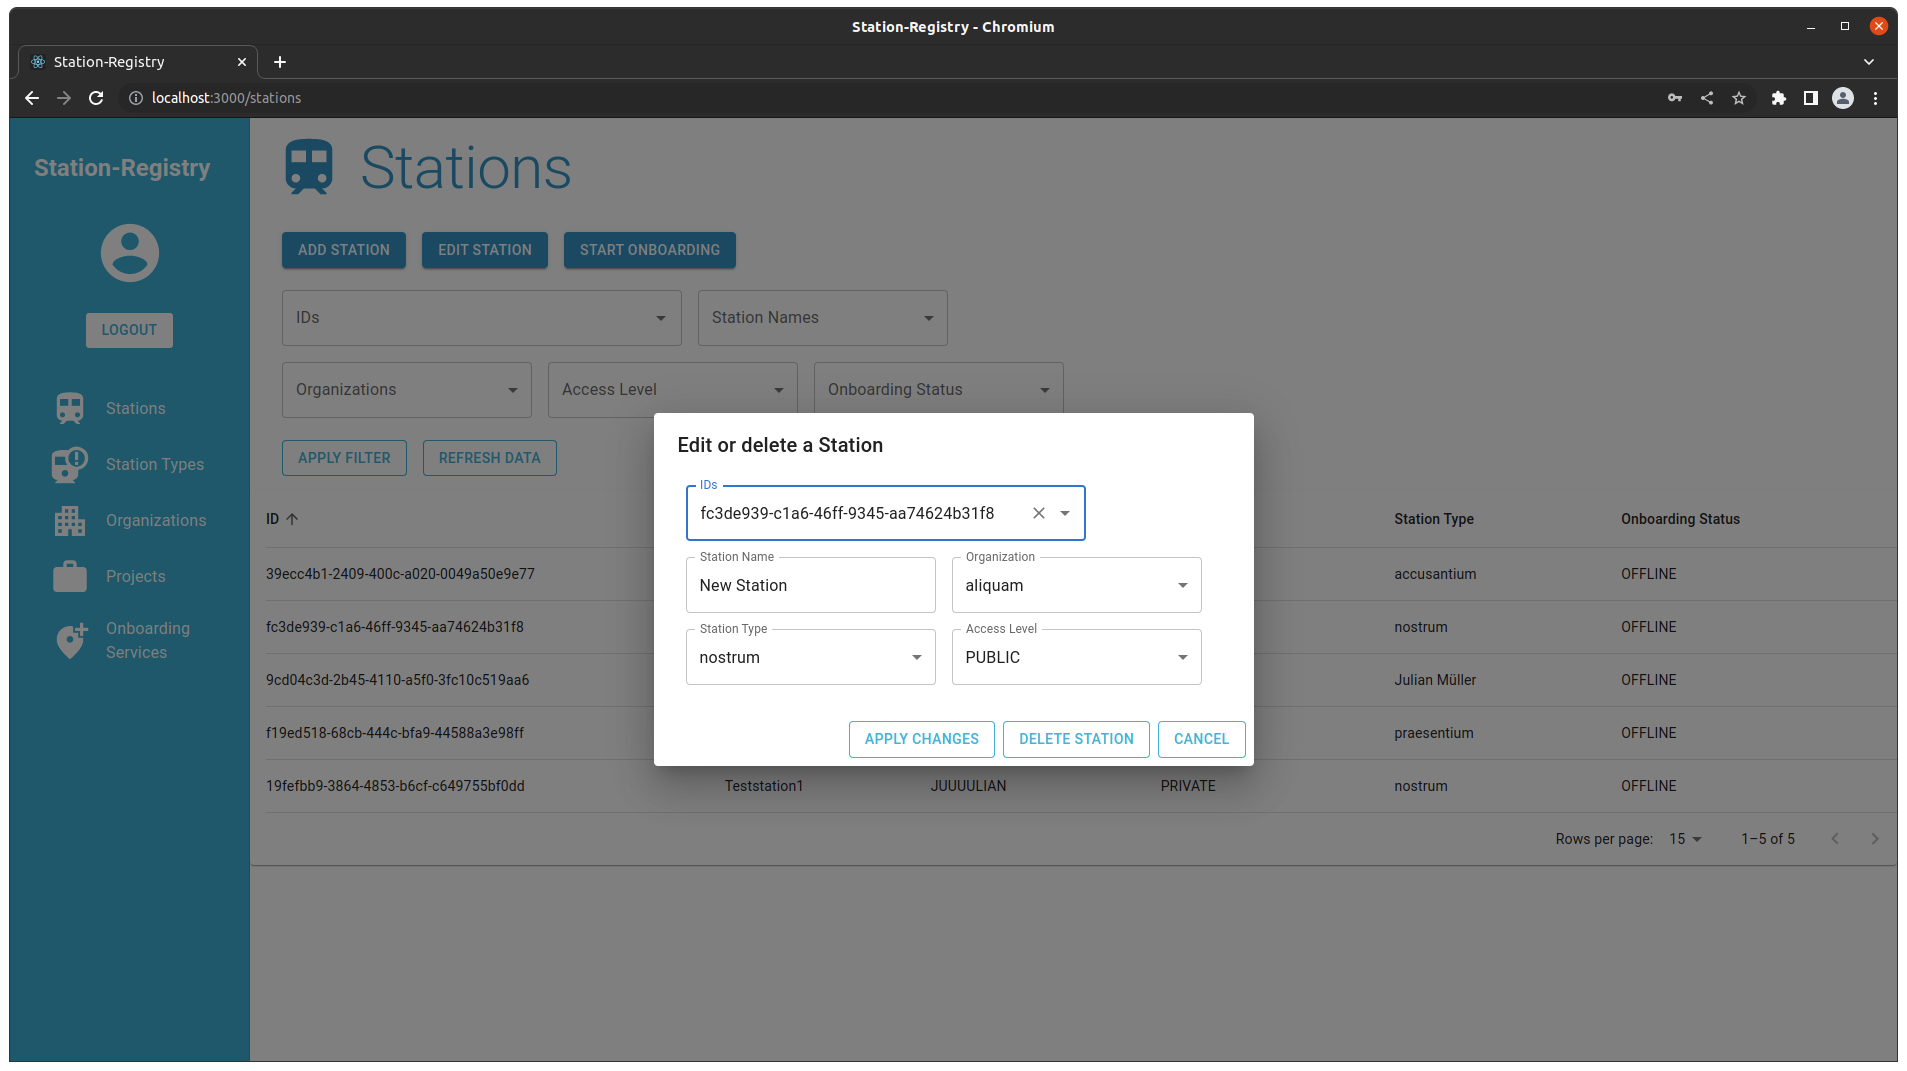
To edit the station just change at least one of the shown fields.
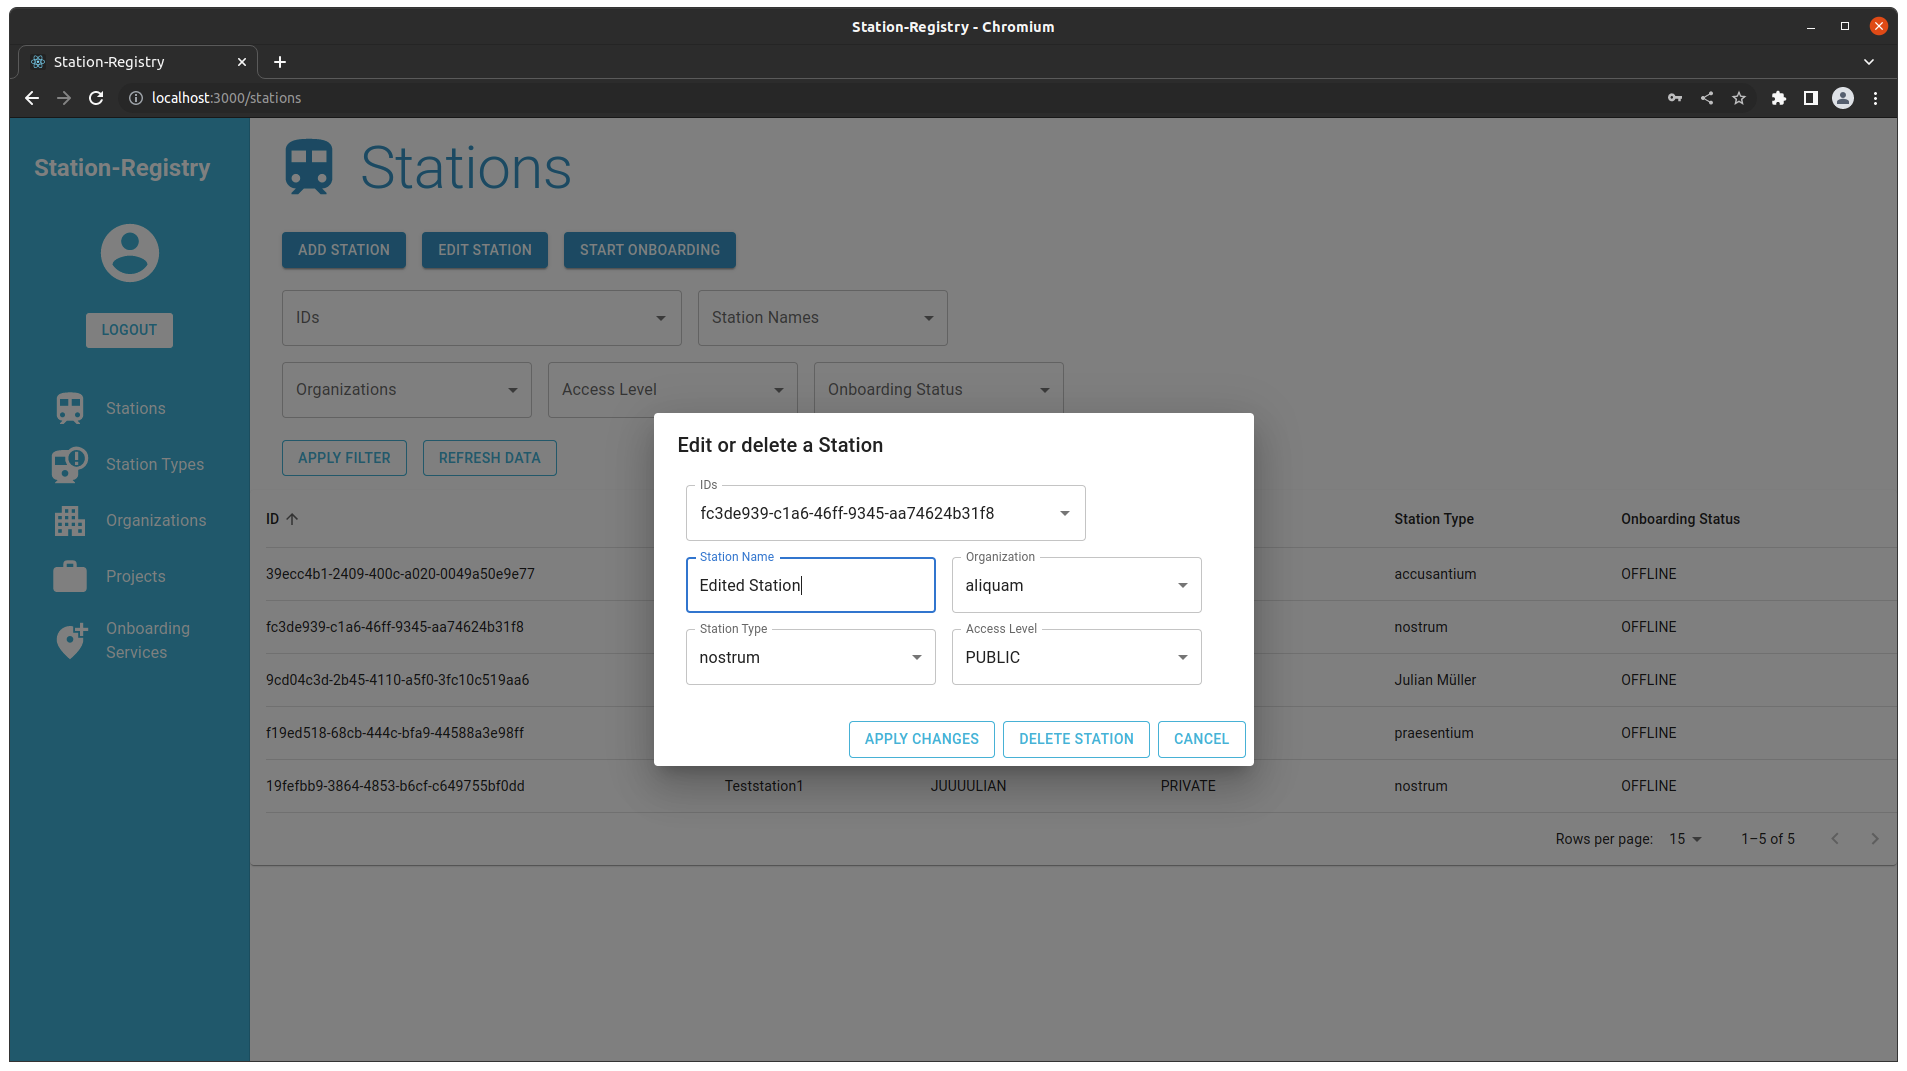
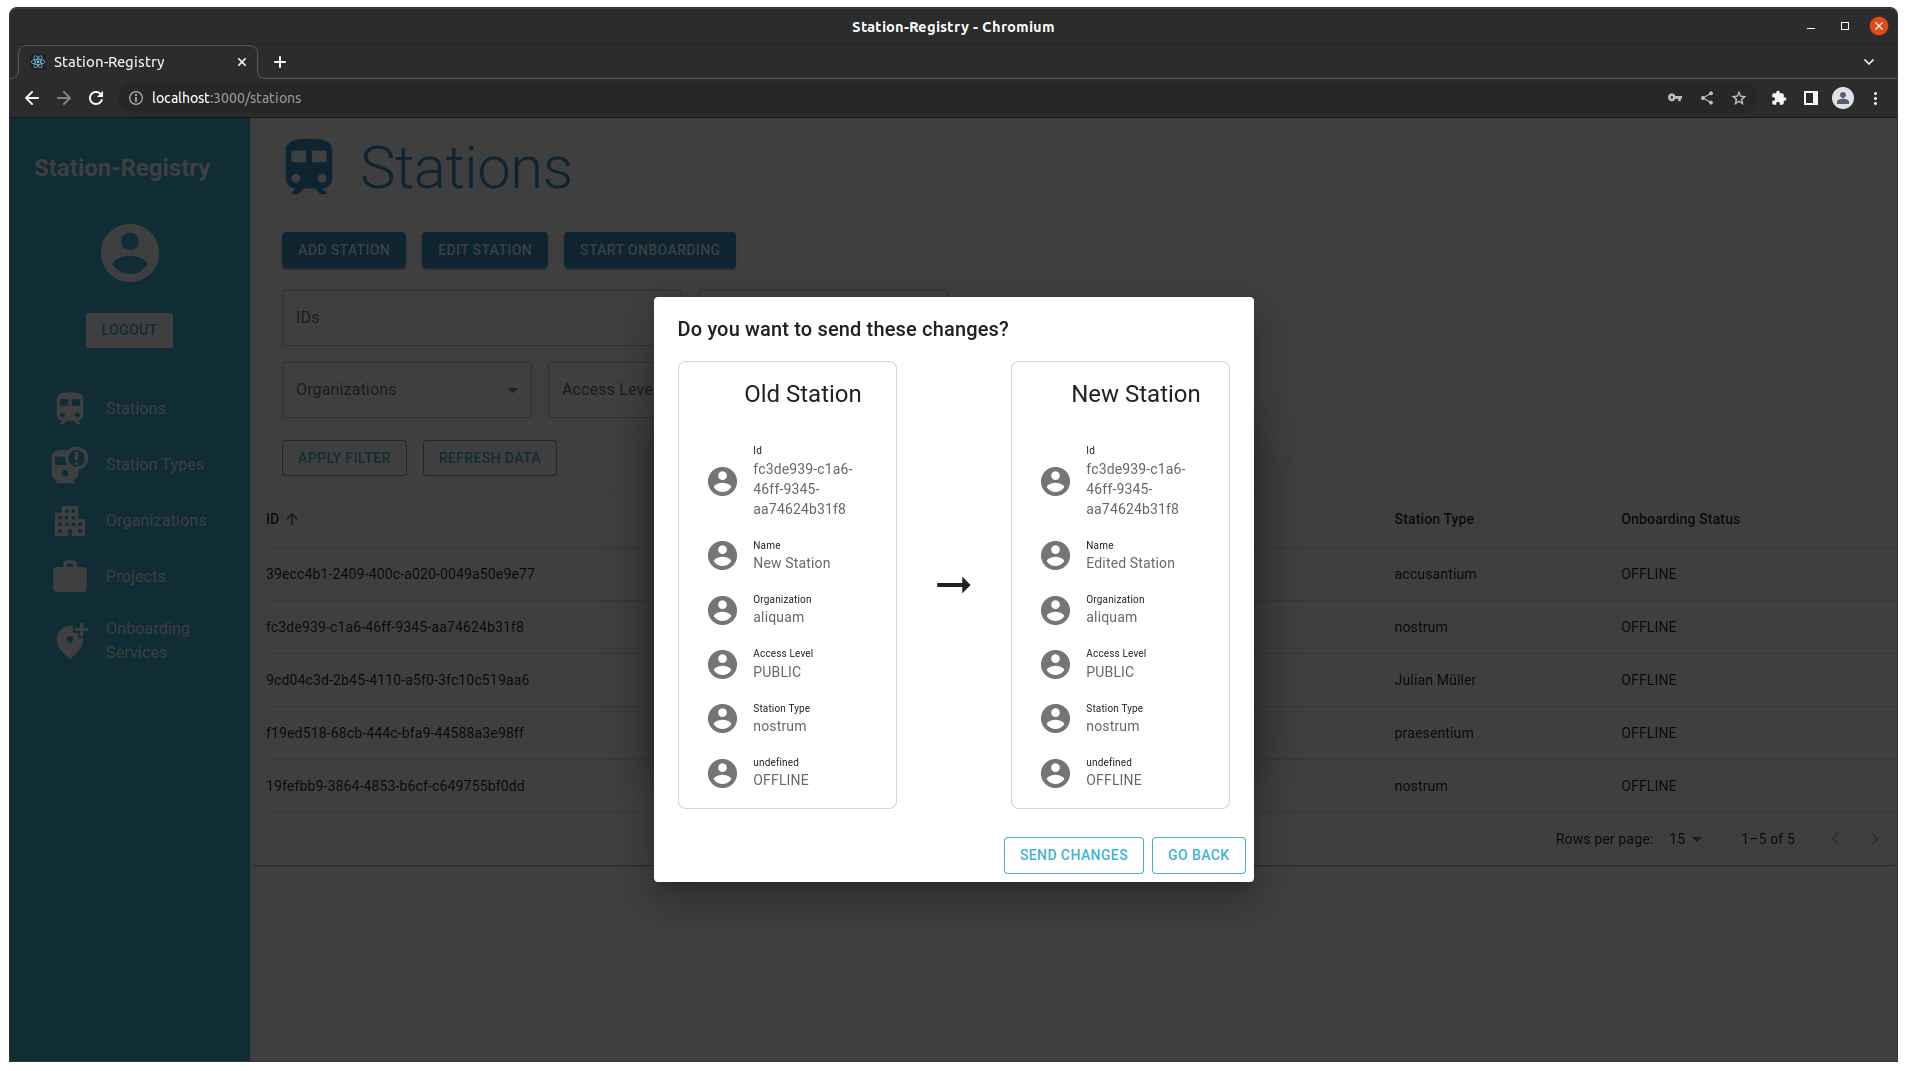
After that press the “Apply Changes” button to review your changes and submit them.
